
Un-boxing Your Bike
| Important Notice. Keep all packaging such as bike box, protective sleeving and wrapping. This is essential in the event of you needing to return the product to Cyclemart. (See our Terms & Conditions Page) |
First of all when you receive your brand new bike be careful that you don't scratch or mark it when opening the box / removing the protective wrapping.
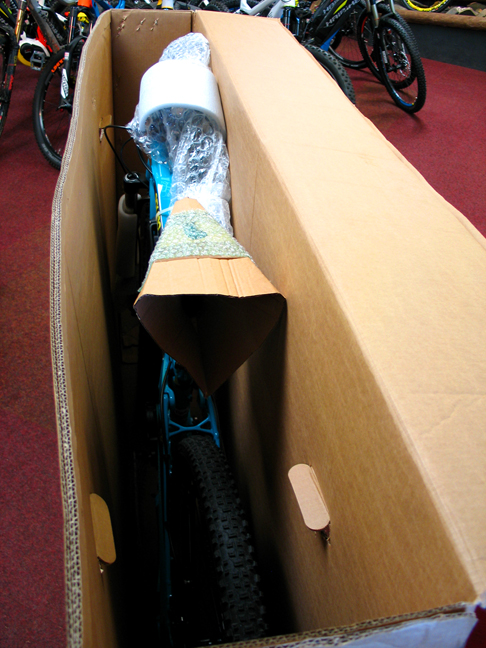
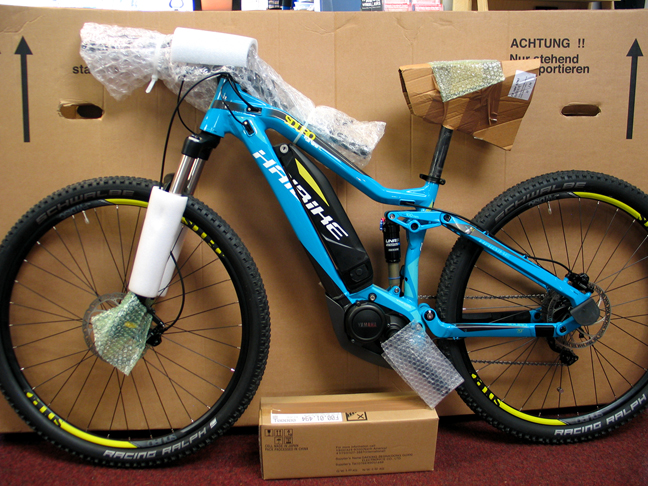
Secondly have somebody help you lift the bike from its box, (unless you have a side opening box) - in which case simply roll the bike out. A package containing pedals and reflectors etc.should also be in the box.
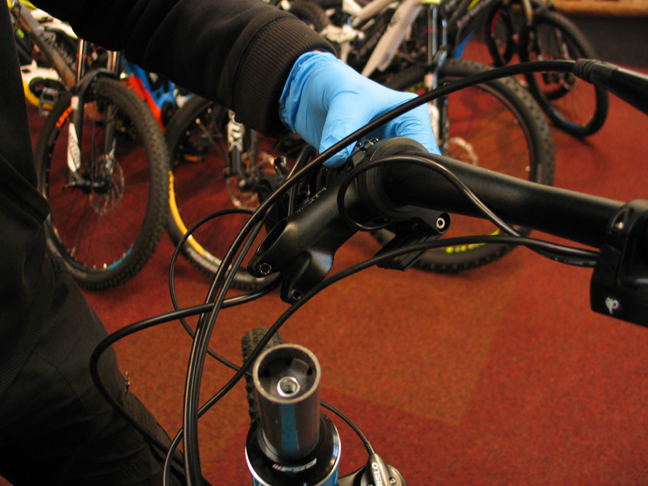
Moving on to the one of two parts of assembly you'll have to do: To get the bike in the box comfortably we have had to flip the handlebars & stem, to reverse this action, take a 5mm allen key and loosen the top cap bolt shown below.
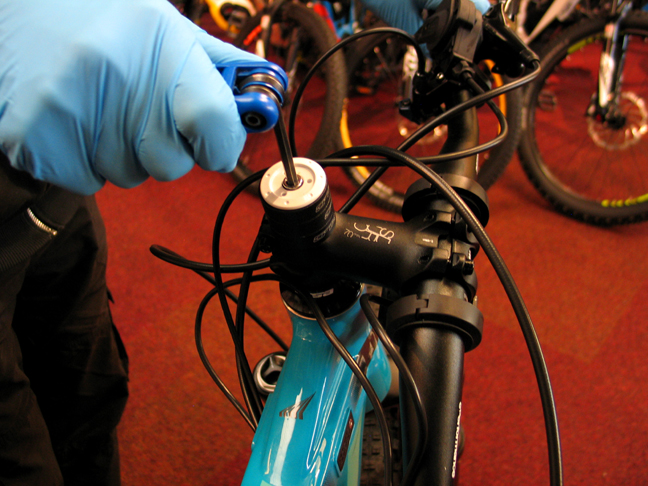
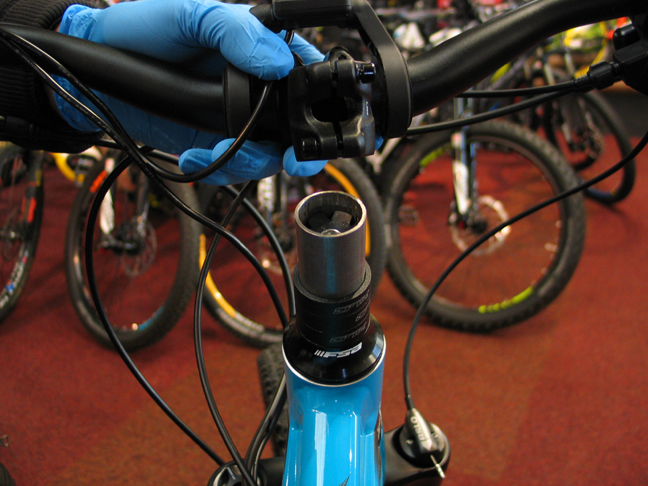
Remove the bolt, top cap and spacers from the steerer tube (see below).
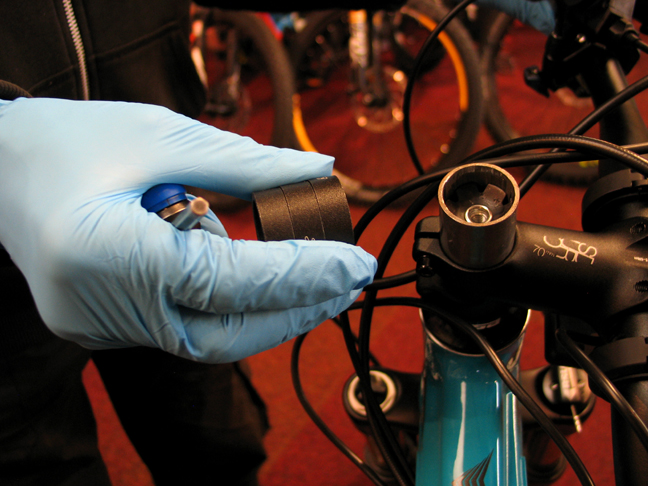
Slide the stem/handlebar assembly off the steerer tube taking care not to pull the cables too hard or to scratch the bike. Now rotate the stem/handlebar assembly through 180 degrees, unwinding the cables and hoses ready to re-install on the steerer tube, this time with stem angled upwards. The cables and hoses should now curve smoothly round with no kinks or restrictions and should allow full and free movement of the handlebar.
This next step is all about personal preference; try the spacers in different order above and below the stem until the handlebar height feels right for you.
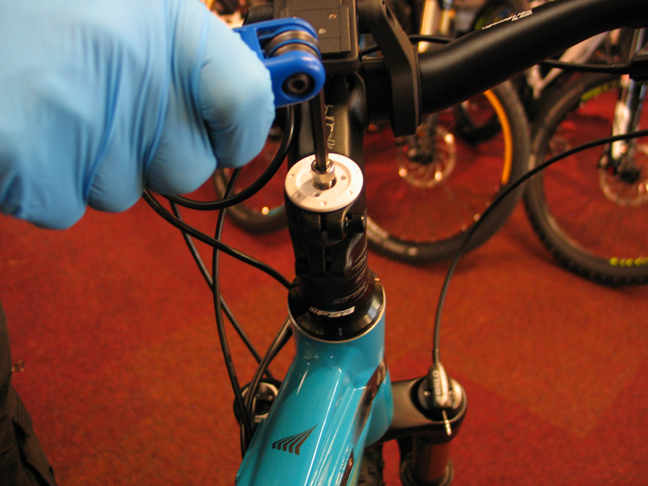
This accomplished, replace the top cap and re-tighten the bolt - BUT ONLY SUFFICIENTLY to remove any play in the steerer/stem assembly. DO NOT OVER TIGHTEN! To check for play; apply the front brake and gently rock the bike forward and backward. Place your thumb and finger where the spacers join the bike frame - there should be no detectable movement .
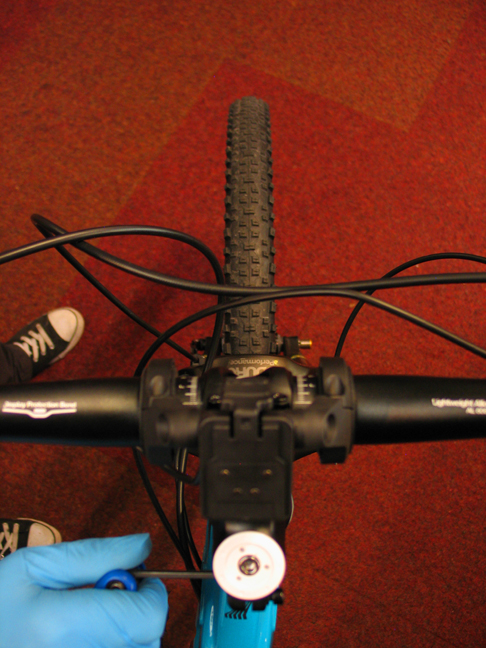
Before tightening the two pinch bolts on the side of the stem, sit on (or stand astride the bike) and, looking down at the front axle, line up the stem with the front tyre. When you are satisfied that everything is square, tighten the two pinch bolts on the side of the stem. AGAIN! - DO NOT OVER-TIGHTEN; For most bikes 5 to 7 Nms is sufficient. If you have any doubts use a torque meter- the torque measurement is usually printed near the pinch bolts.
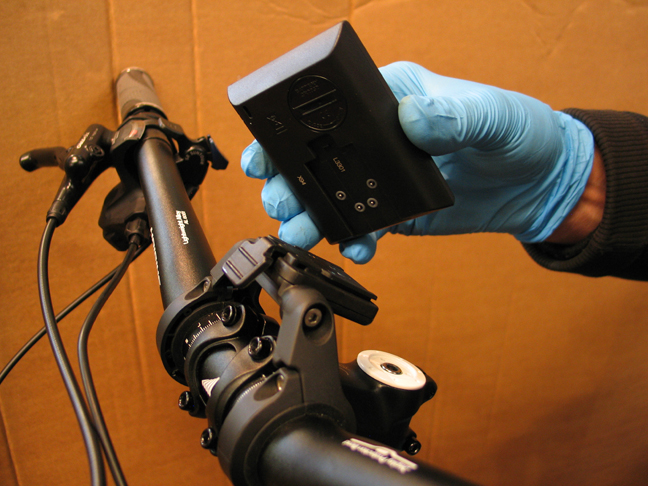
Your nearly done! Open the package contained in the bike box and locate the visual display unit. Slide it carefully onto the display until it clicks into place. (A light smear of Vaseline on the contacts, prior to mounting, will ensure a good contact in damp conditions.
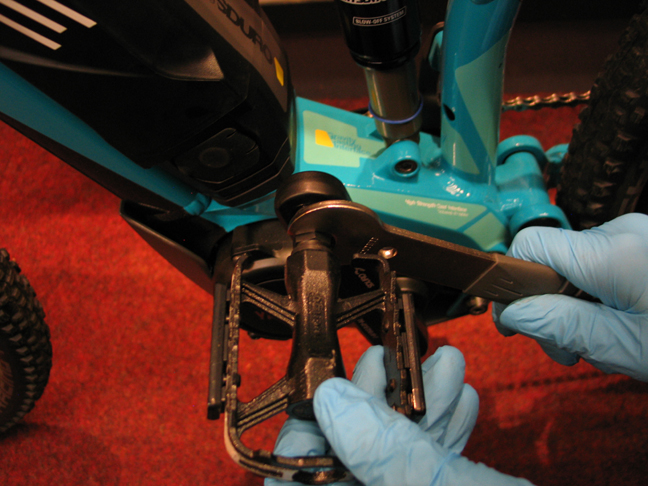
Finally, locate the pedals from your box, take a 15mm open spanner or even better a purpose made pedal wrench and fit the pedals to the cranks. NOTE - the pedals are stamped with an R or an L, (usually on the end of the threaded section) .As you sit on the bike; R is on the right and L is on the left. Apply a little grease before fitting and take care not to cross the threads. IMPORTANT: the pedal marked L will have a LEFT-HANDED thread and ,as such, will need to be turned ANTI-CLOCKWISE to install. TIGHTEN SECURELY - (35-40Nm if you have a torque wrench).
You have now completed the set-up of your bike!
Now all you need to do is get out and explore...